This post has affiliate links through which I earn a commission. No additional cost to you. Please read my disclaimer.
Also, nothing I say is medical advice. All photos are of my cats.
DIY cat toys
How can I include my cat in the holidays?
DIY cat toys are the easiest holiday gifts.
Being creative will put you in the holiday mood.
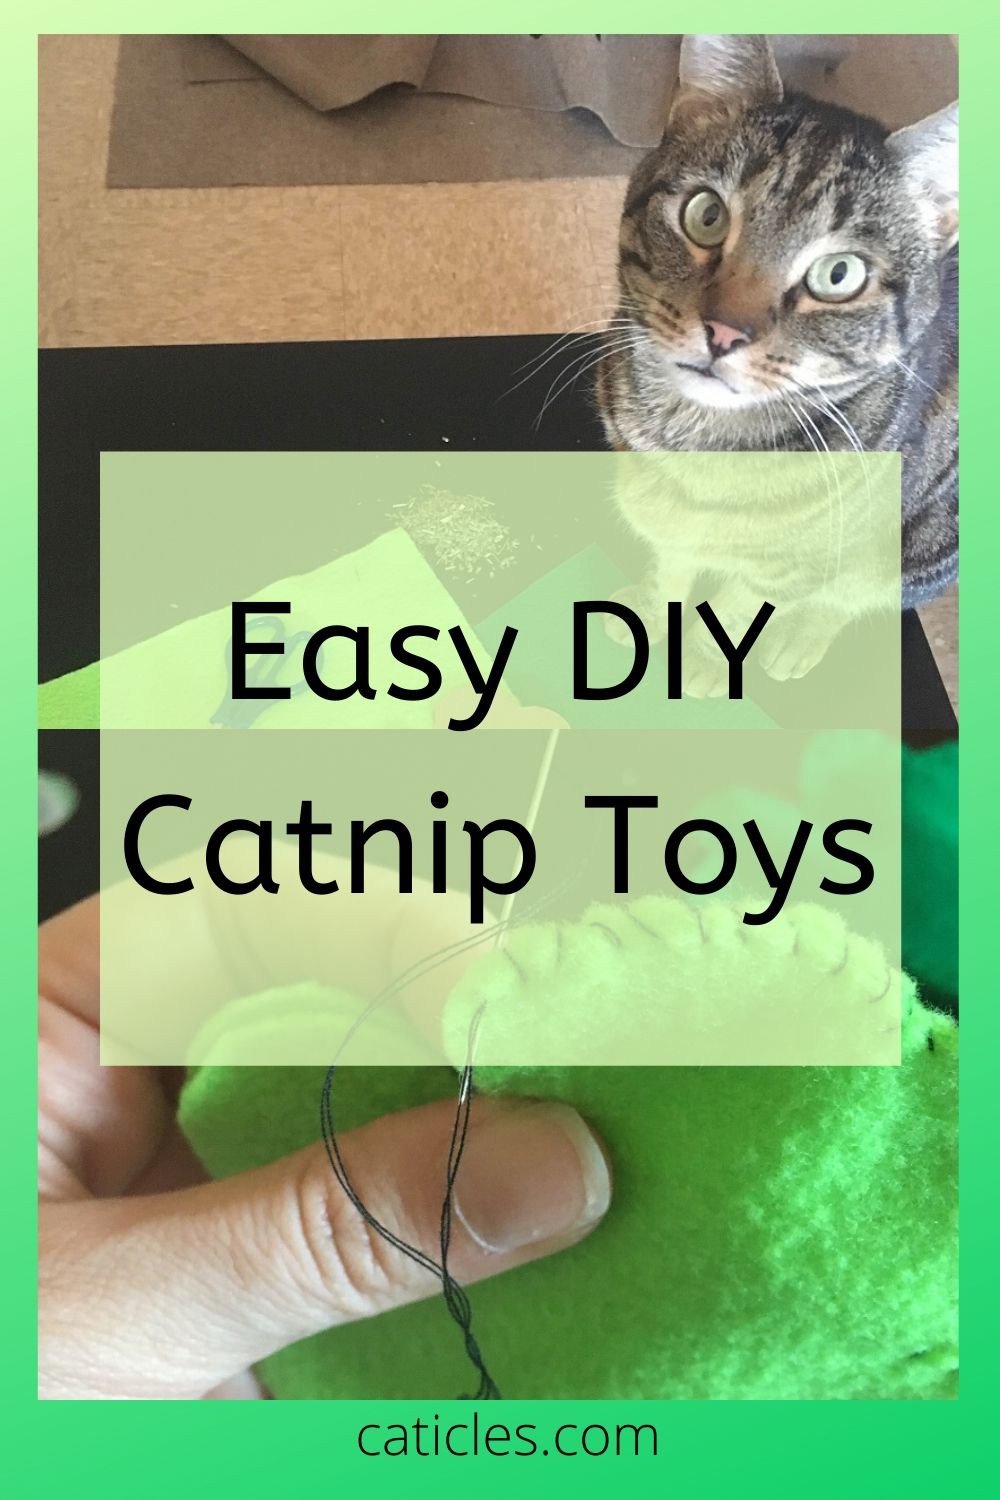
We cannot give our cats green beer, so these DIY catnip shamrock toys make wonderful St. Patrick’s Day gifts!
DIY cat toys are simple and fun to make. You will enjoy being creative, and your cat will appreciate a handmade toy.
Here’s a quick guide on DIY cat toys:
Why DIY cat toys?
DIY cat toys are safer for you and your cat. Most cat toys are made from plastic or have toxic coatings.
Since you are the one making the toys, you are in control of the materials.
You eliminate these unsafe materials when you make your cat toys.
Only buy from trusted sources, and wash your materials before you make your cat toys.

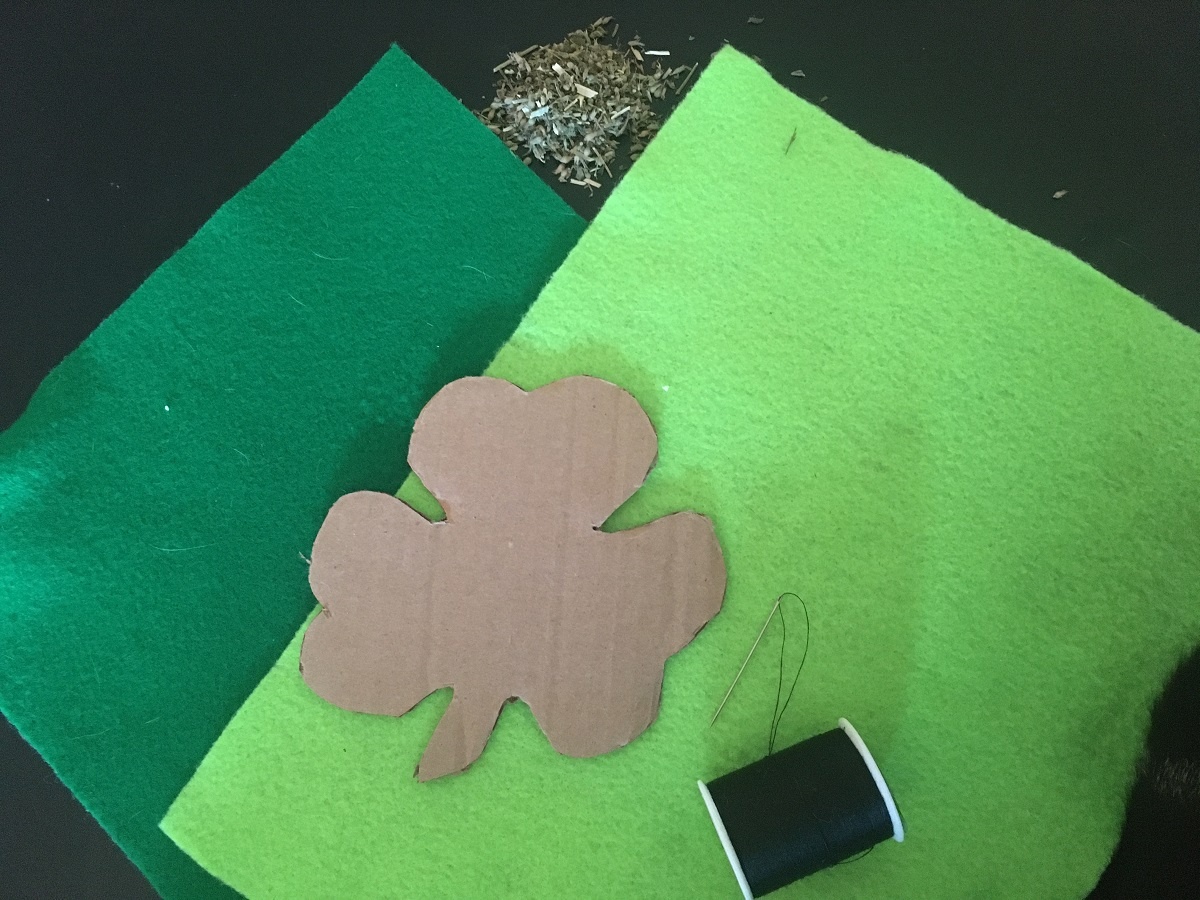
Materials needed for DIY catnip shamrocks
- Green felt fabric
- A cardboard cutout of a shamrock
- A scissor
- Needle and thread
- Organic Catnip
I already had most of these materials at home. I purchased the felt at Michael’s craft store, and it was cheap.
The felt sheets were 39 cents each. I bought a light green and a dark green.
I made two catnip toys, but I only used about half of the fabric.
If you wanted to make four toys, two pieces of fabric would work well. My catnip shamrock toys are about the size of my palm.
Need help getting your cat to play? Watch my secret playing hacks.
How to make DIY catnip toys
Wash your fabric
I threw the felt sheets into the laundry on a cold wash. I let them hang dry instead of putting them into the dryer.
The fabric would probably shrink or lose its shape if you used heat.
Sketch a shamrock on a piece of cardboard
I used the side of a box.
Make the shamrocks large enough so that you can fit the catnip inside. Again, my shamrocks are about the size of my palm.
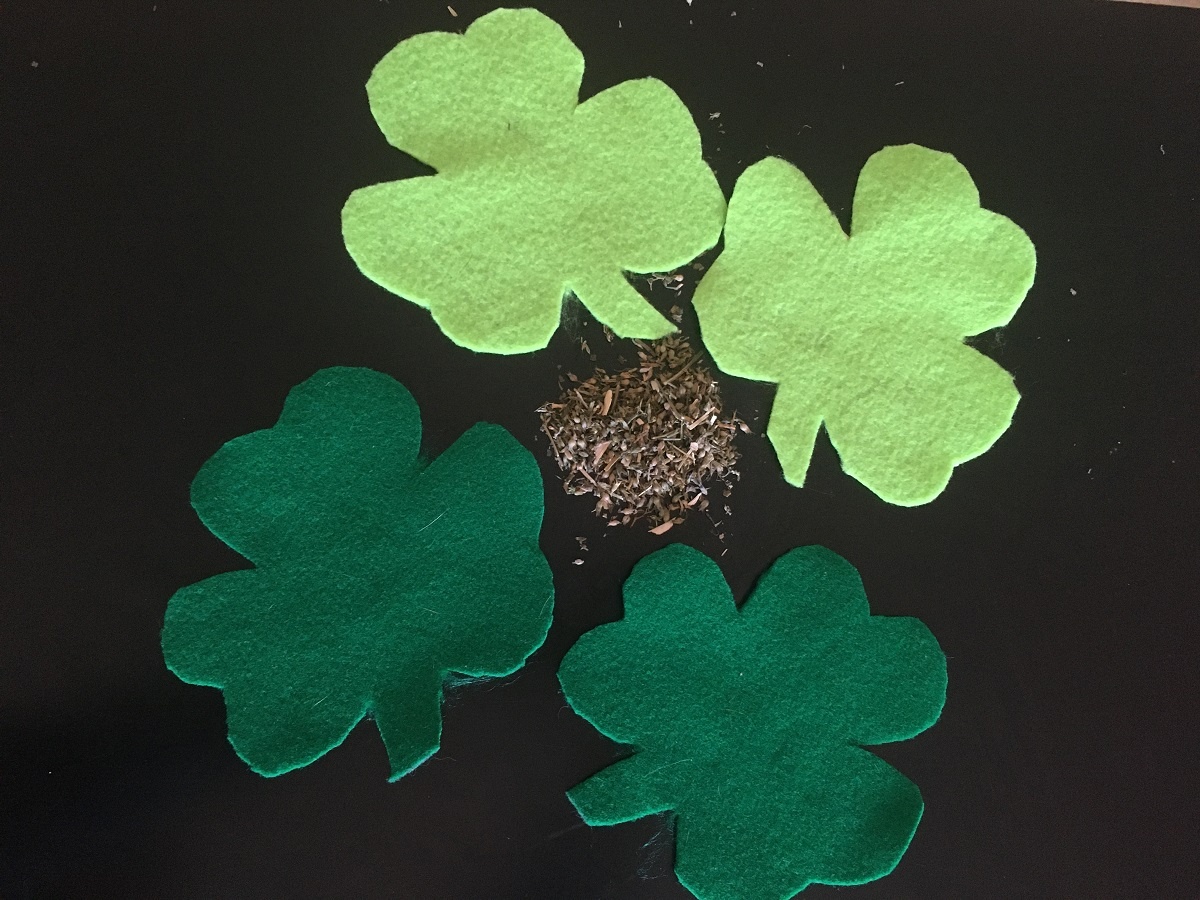
Cut shamrock shapes in the fabric
Place the cardboard cutout over a piece of felt. Using the scissor, cut around the cardboard shamrock.
I did not use a marker on the fabric because this is a toxic material. Remember, your cat toys will be in your cat’s mouth. You do not want a yucky marker on the fabric. Always keep a safe playtime.
Cut around as best as you can.
You will need two shamrocks for one toy.
Trim the edges
Trim around the edges of each shamrock until you’ve reached your desired shape. After I had two shamrock felt pieces, I matched them up and trimmed as needed.
Thread your needle
Draw out your thread generously. You will need more thread than you think.
I had to rethread three times on each shamrock toy.
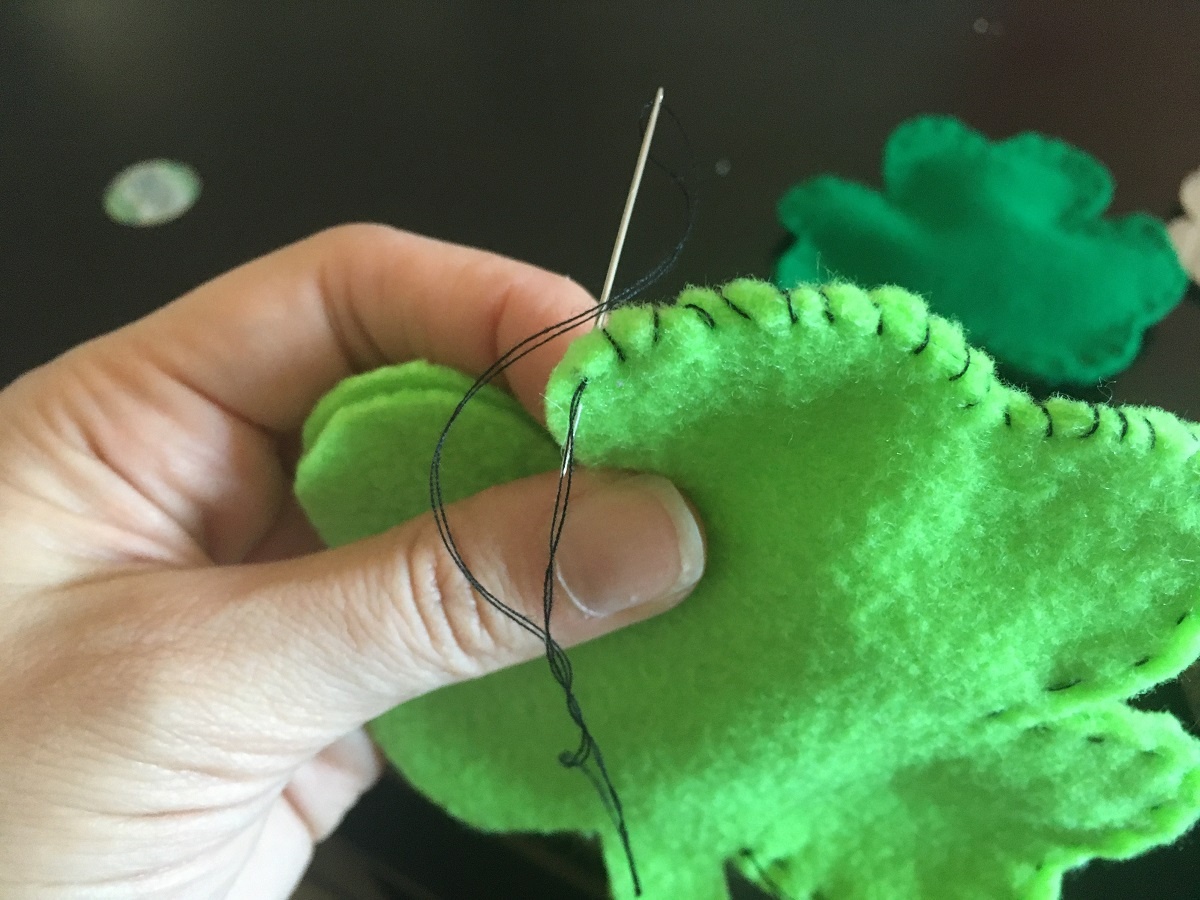
Sew around the edges
Place the two shamrocks on top of each other so that they are lined up.
I started at the stem and worked my way around.
I found out (by accident) that it’s better if you loop around the edges versus sewing side-by-side. It looks less like something out of a Tim Burton movie. Not that there’s anything wrong with that.
Stop sewing when you reach the beginning of the last leaf.
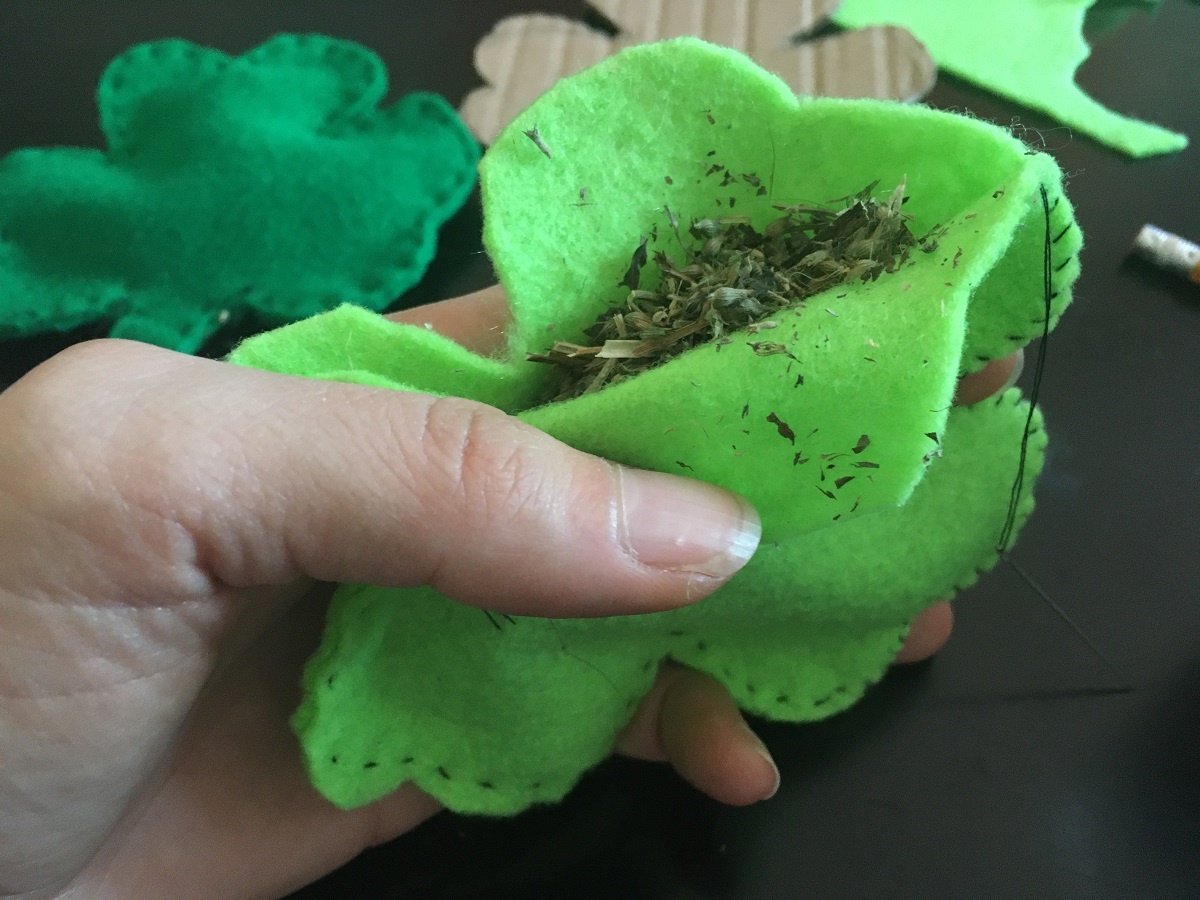
Stuff the shamrock with catnip
Open the shamrock slightly so you can stuff it with catnip.
Catnip will be everywhere. This is inevitable.
Close up the shamrock toy
Continue to sew around the edges until the two pieces are completely sewn together.
I am not an expert sewer, so if I can do this, you can too. It took me about an hour to make both of these toys from start to finish.
As you can see in the pictures, my cat Jericho “helped” me along the way.
After the catnip shamrocks were done, I tossed them on top of our Ripple Rug.
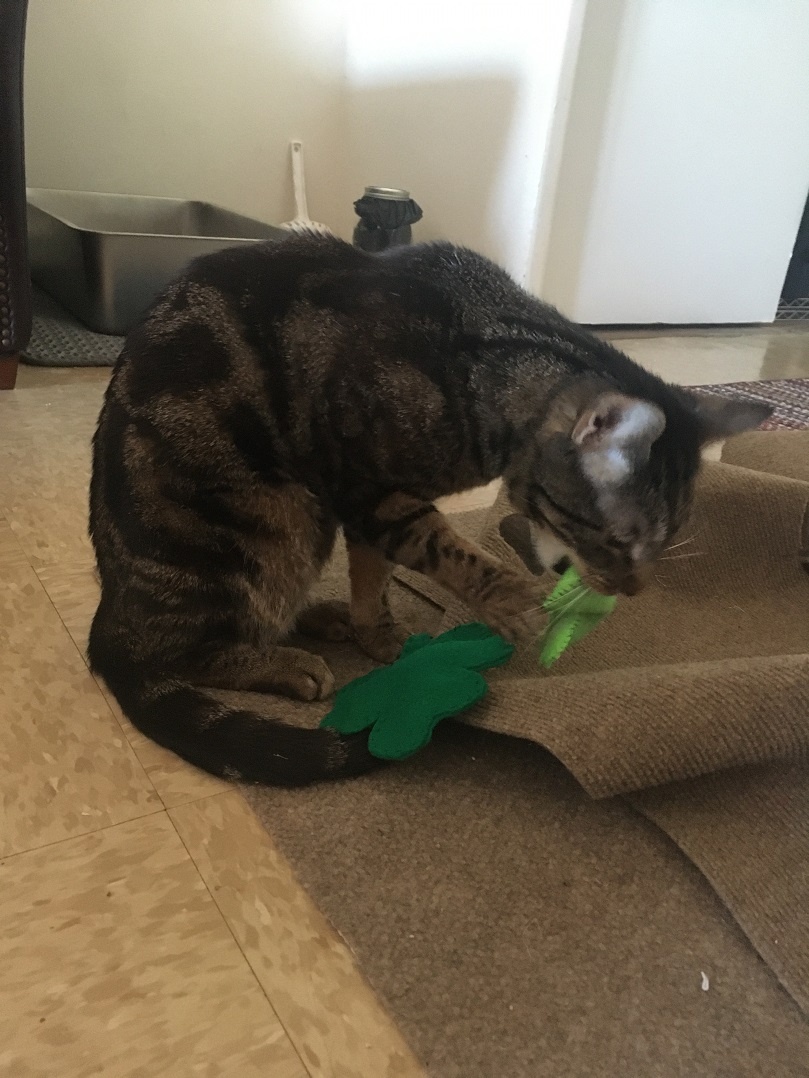
Jericho sniffed them and started biting them. He took them in his mouth and did the fast “kill it” shake. He pawed around at them and tossed them in the air. Success
Need a centralized place to keep track of everything related to your cat? Grab my Cat Care Binder Bundle!